
I’ve worked on a wide range of ceramic tile projects over the years, and one thing I’ve learned is that accurate shop drawings can truly save a project. When done right, they prevent costly mistakes, reduce confusion on-site, and help keep everything on track.
Ceramic tile work might look simple at first, but once you get into patterns, grout lines, transitions between spaces, and coordination with plumbing or fixtures, the complexity adds up fast. That’s why I see shop drawings as more than just technical documents. They’re tools that protect timelines, budgets, and the quality of the finished work.
In this article, I’m going to walk you through the most common mistakes I’ve seen in ceramic tile shop drawings. More importantly, I’ll explain how avoiding these issues can save time, reduce stress, and help your project move forward with confidence.
#1: Missing or Inaccurate Substrate Information
One of the first things I look for in any ceramic tile shop drawing is how well it accounts for the substrate, the surface the tile will actually be installed on. It might seem like a small detail, but it’s one that can lead to big problems if overlooked.
I’ve seen cases where drawings were prepared without considering slopes, uneven surfaces, or subfloor material changes between rooms. On paper, the layout looked perfect. But once the installers got on-site, things didn’t line up as expected.
Tiles had to be re-cut, transitions didn’t flow well, and in some cases, the entire layout had to be adjusted mid-installation. All of this could have been avoided with accurate substrate details included from the start.
To prevent this, I always recommend verifying substrate conditions early in the drafting process. If I don’t have access to architectural or structural references, I ask for site photos, measurements, or even on-site notes from the contractor. Including this information in the shop drawings helps set realistic expectations and reduces guesswork during installation.
#2: Incorrect Tile Orientation or Pattern Placement
Another mistake I often come across is confusion around tile orientation or layout patterns. Whether it’s a basic grid, a running bond, or a herringbone layout, the direction and starting point matter, a lot.
I remember a commercial lobby project where the drawing showed a herringbone pattern, but the orientation was unclear. The installer interpreted it one way, the designer had another vision, and by the time the issue was noticed, several rows were already installed. That led to a full-day delay and a lot of finger-pointing.
To avoid this, I always make sure the drawings clearly show pattern direction using arrows and detailed callouts. I also include layout references tied to fixed elements, like door openings, centerlines, or major architectural features. These little details go a long way in avoiding misinterpretation.
#3: Overlooking Expansion Joints and Grout Line Spacing
It’s easy to focus on the look of the tile and forget about what holds it together or what keeps it from cracking. Expansion joints and grout line spacing are not just technical details. They’re essential for long-term performance, especially in large or high-traffic areas.
I’ve seen drawings that treat grout lines as an afterthought, with no consistent spacing or mention of expansion joints. This can cause major issues down the line, especially when tiles are laid across large, open spaces where materials naturally expand and contract.
In my process, I always clarify grout width and call out movement joints where needed, following the project’s requirements or industry standards like TCNA guidelines. These details help protect the tile from cracking or lifting over time, and they show the installer exactly what’s expected.
#4: Not Coordinating with Plumbing Fixtures and Built-Ins
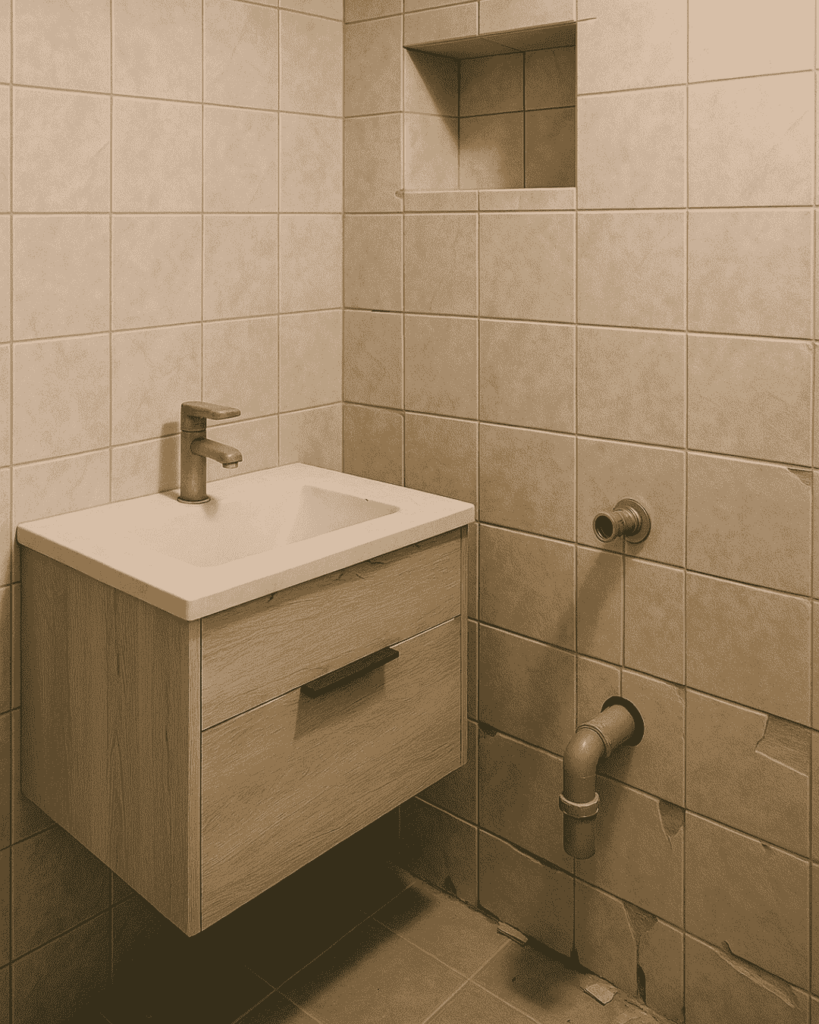
One of the most frustrating issues I’ve come across is when the tile layout isn’t coordinated with plumbing fixtures, floor drains, or built-in elements like vanities and cabinets. It might not seem like a big deal on paper, but when a tile joint runs right through the center of a drain or a pattern gets cut off awkwardly by a built-in. The visual impact is hard to ignore.
I’ve learned to always reference the architectural and MEP plans when preparing shop drawings, especially for bathrooms, kitchens, and utility areas. If the tile pattern is meant to be centered or aligned with a fixture, that has to be called out clearly.
I also make it a habit to overlay critical plumbing points on the tile layout so there are no surprises during installation. This extra step can make the final finish look far more polished and intentional.
#5: Lack of Room-by-Room Layout Clarity
I’ve seen a lot of confusion happen when the entire tile scope is crammed into one or two sheets without breaking it down by area. What looks organized to the drafter can become overwhelming to the installer trying to sort out which pattern or tile type goes where.
That’s why I always create separate layout sheets for individual rooms or zones especially for large residential or commercial projects. It helps installers follow a clear sequence and reduces the chance of applying the wrong tile in the wrong area.
I also label transitions and directional flow between rooms to help with continuity, especially where patterns carry through multiple spaces.
#6: Inconsistent Scale and Dimensioning
Another mistake that causes unnecessary back-and-forth is inconsistent or unclear dimensioning. I’ve reviewed drawings where only partial measurements were shown, or where the scale wasn’t accurate, making it nearly impossible for the site team to cut and place tiles correctly.
In my workflow, I make sure every layout is drawn to a standard architectural scale, usually 1/4″ or 1/2″ depending on the space and that every major reference line, grid, or room edge is dimensioned. I also include total room dimensions and tile counts where applicable. This level of detail makes life easier for everyone and minimizes interpretation errors on-site.
#7: Not Reviewing or Updating Drawings Before Final Approval

One of the biggest mistakes I’ve seen and one that often goes unnoticed until it’s too late is skipping a proper review of the tile shop drawings before they’re finalized. Sometimes changes are made during design development or construction, but those updates don’t always make it into the latest drawing set. That’s when costly errors creep in.
I’ve had projects where wall dimensions changed slightly, or the finish schedule was updated, but the drawings were approved without cross-checking. The result? Wrong tile quantities, misaligned layouts, or even ordering the incorrect material altogether.
To avoid this, I always recommend a final coordination round with the project team before sign-off. I double-check the architectural plans, fixture locations, finish schedules, and any RFIs or markups that came in during the process. A few extra minutes here can save hours or even days on-site later.
How US Drafting Inc. Helps Avoiding These Mistakes?
At US Drafting Inc., we don’t just create tile shop drawings, we dig into the details that protect your project from unexpected issues. Every drawing we produce goes through a clear, step-by-step process that’s built to catch the kinds of mistakes I’ve talked about in this article.
We start by reviewing all available project information: architectural plans, tile specifications, finish schedules, and fixture layouts. If anything is unclear, we reach out. We ask the right questions up front about substrate conditions, tile orientation, transition points, and more so we can build a drawing that reflects the real conditions on-site.
Our team breaks down complex layouts room by room, clearly showing patterns, start points, dimensions, and references to key elements like drains and doorways. We also coordinate with other trades when needed to make sure the drawing works with plumbing, electrical, and built-in components.
Before final delivery, every set goes through an internal review for consistency, accuracy, and completeness. We don’t just want the drawings to look good, we want them to work in the field. If you’re dealing with tight timelines, a detailed design, or just want to avoid costly surprises during installation, having a reliable drafting partner makes a big difference. That’s what we aim to be on every project.


1 Comment
Tommy
Impressive how well this was written—clear, helpful, and interesting.